How to Capture the Northern Lights on Film


Witnessing the Northern Lights is one of those bucket list experiences we all want to have at some point in our lives, and there are a few destinations where your chances of seeing them are greater. From Iceland, Finland and Norway to Canada and even the northernmost tip of Scotland, if you’re venturing to these destinations, chances are that seeing the Aurora Borealis for yourself is high on your list.
But, capturing them on film can be difficult, especially if you’re new to photography. In this guide, we’ll take a look at the equipment you’ll need for incredible shots, how to get your lighting just right so you can avoid trial and error, and get perfect shots the first time.
What to know about photographing the Northern Lights before you go
Before you can photograph the Northern Lights, there are a few key facts to bear in mind. First, the lights are only visible when the nights are dark enough, which means you need to time your trip accordingly based on where you’re going. If you’re heading to Iceland, that might mean you can see them from late August until April, whereas in Sweden you’ll be looking at a time frame closer to September and March. Another thing to note is that if the skies are cloudy, your chances of seeing the aurora are limited because it takes place high above the clouds.
Many people believe they have to book a dedicated tour to see the lights or be in the middle of nowhere for the best visibility, but that isn’t true—you can see them from anywhere, the heart of the city included. Naturally, having no light pollution will help, but if the aurora is strong enough, it will be visible from any location. Strong moonlight will also interfere with your ability to see nature’s unique lightshow—a night with a full moon will make it harder to see them, compared to a sliver of moonlight.
It's worth remembering that there’s no guarantee of seeing the Northern Lights, and they’re not active all the time—they tend to appear in spikes, with the intensity of the light increasing and decreasing over a period of time. You could be waiting several hours to see them, or you may be lucky and see them as soon as you set out.
While many people rely on the Kp index to chase the aurora, it’s not a great metric to go by. You could be missing out on a potentially fantastic display just because the Kp index isn’t as strong. The best course of action is to simply be patient and give yourself plenty of time on your trip in case you need to go out several nights in a row.

What equipment is best for capturing the aurora borealis?
To get the best shots of your Northern Lights adventure, you’ll need a DSLR or mirrorless camera that can cope with higher ISO settings of up to 6400 without becoming grainy. Many of the newer models can achieve this, so you don’t necessarily need a state-of-the-art camera. It also helps to have a wide angle lens of between 12 and 24mm with an aperture of between f/1.4 to f/2.8. For stability and clearer shots, you might also want to invest in a tripod so you can set up your camera at the perfect angle while you wait for the lights to appear.
Which camera settings do I need to use?
Shutter speeds
The trick with capturing the Northern Lights at their best is to work with your shutter speed. Light trails tend to begin around shutter speeds of 30 seconds, so choose a film with a suitable ISO that will give you a full range of speeds to work with, based on the type of images you’re hoping to get.
You may need to practice getting the right speed, figuring it out as you shoot—a more prolonged exposure is preferable to start off with and then you can lower it if the lights are brighter or move faster than you were expecting. An ISO of between 800 and 6400, depending on the brightness of your surroundings, is best.
Manual settings
You’ll also want to turn off the automatic mode on your camera, to allow you to focus manually. Test this out in daylight so you can get used to it if you’ve not used this mode before so you can practice before heading out at night. To focus at night, you may need to set the live view mode on your camera and zoom in on a light in the distance, such as a bright star or the moon, so you can manually move the focus ring of the lens until you’ve reached the sharpest point. While some cameras automatically focus in low light, many struggle, so adjusting manually is always advised to get the clearest shots.
White balance
In order to get the right tone to your images, you will need to play around with the white balance settings. You’ll need to set the white balance between 3200K and 4000K for a more natural glow that captures the cooler shades of the lights.
Filming the aurora in real time
Watching the lights dance across the sky is a memory you’ll want to come back to time and time again, and there will be subtle nuances that are best viewed on a video. For this, you’ll want to set your camera to its widest aperture so as much light as possible hits the sensor for brighter, clearer footage. This also has the added benefit of giving a cinematic feel to your footage. As before, you may want to experiment with shutter speeds, but bear in mind that a slower shutter speed (around 1/30th of a second or slower), will give you a better view of the movements of the lights.
Are there tools that can help me chase the lights?
Driving around in search of the aurora isn’t the most effective way to find the lights, but luckily there are tools and apps you can use to narrow down the search. The Icelandic Meteorological Office, for example, provides cloud coverage forecasts so you can see when the skies will be clear for the best visibility.
Apps like Hello Aurora, Aurora Forecast or My Aurora Forecast can also help, showing live data and maps of the activity so you can see the changes as they occur for the best chance of capturing them at their brightest. Finally, checking when the sun sets and rises in your location can help ensure you’re venturing out when the sky is at its darkest. Combining several or all of these tools and techniques will give you the best chance of being outside at the right time.

Tips for composing the perfect shot
Use a tripod
You’ve set your camera to the right settings, now you need to compose your shot. A little blur might be artistic, but for crisp and clear images, you will want to use a tripod. This is essential for long exposure shots, because it’s difficult to keep the camera still enough by hand—even a slight movement can result in a blurry photo. A remote trigger or cable release may also be a useful addition to your set-up.
Include more than the sky
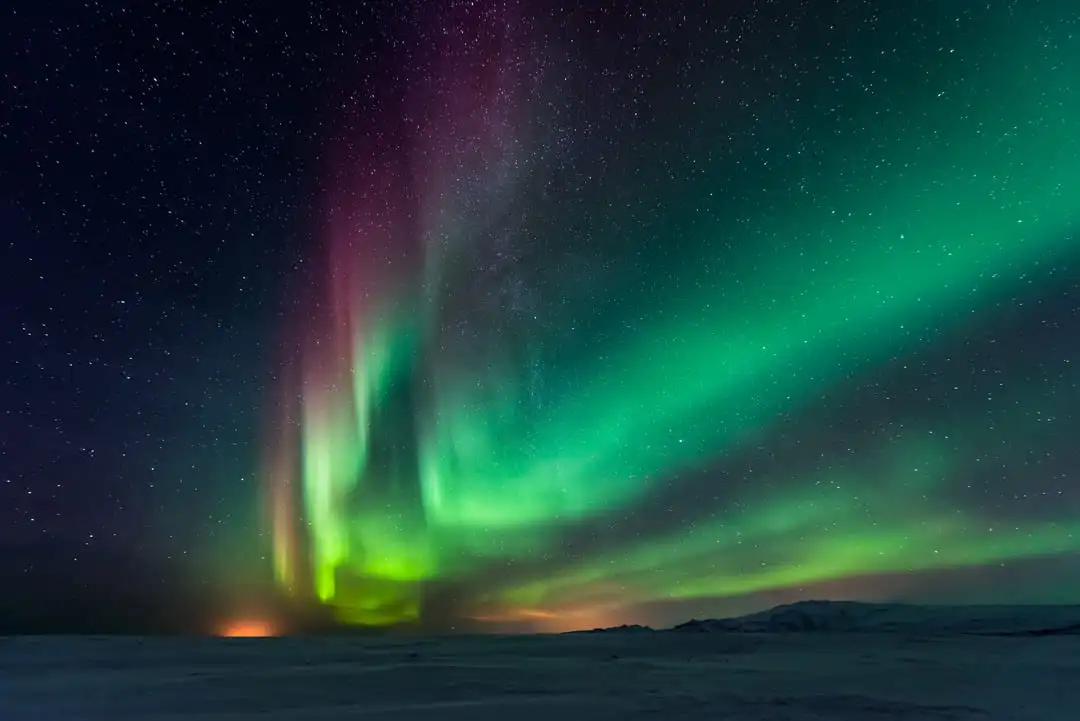
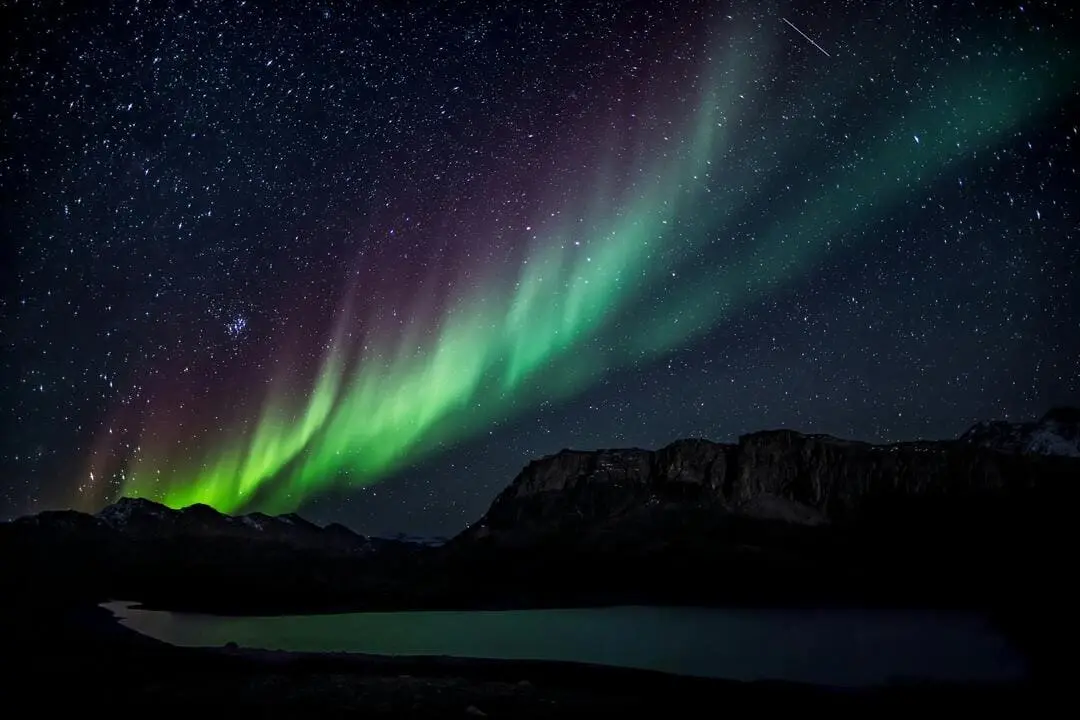
It's also important to remember that while the Northern Lights are the focus of your shots, they aren’t the only thing in it. You also want to capture the surrounding landscape because that’s what makes the experience so magical. Composing an image that has a striking composition will make your shots look more professional and will serve as the perfect memory of where you were when you saw them.
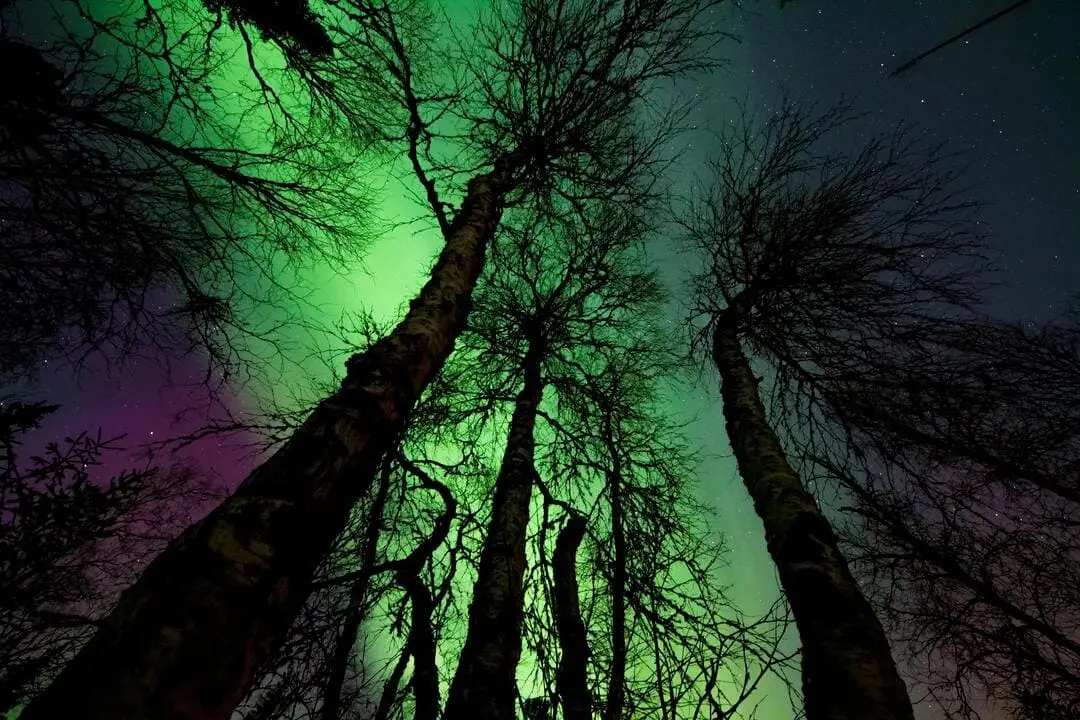
Maybe that means keeping the mountainous silhouette in the background, incorporating the trees and flora in your view, or making sure you include the beach and horizon with your images of the sky. This is where a wide angle lens comes in handy to provide you with those winning shots that give a better view of the scenery and sky.
Enhance with editing software
Hopefully, your camera settings will have done most of the work in capturing the colors and movement of the lights, but a bit of post-processing can help to bring out the light and colors with greater ease. For example, you might want to make the sky a deeper blue to really contrast the aurora, or maybe you need to brighten the shot to capture the colors of the lights. Try to strike the right balance between tweaking the images without over processing and losing the magic of what they really looked like on the night.
As with any skill, the best way to improve is to practice—experiment with different angles, compositions and lenses to find what works for you. Ultimately, witnessing the Northern Lights is an unforgettable experience that everyone should have at least once, so be patient and with any luck, you’ll capture amazing photos and videos of this natural wonder.